Hip Circles
Standing mobility drill that draws large circles with the pelvis while the feet stay planted.
How to do it
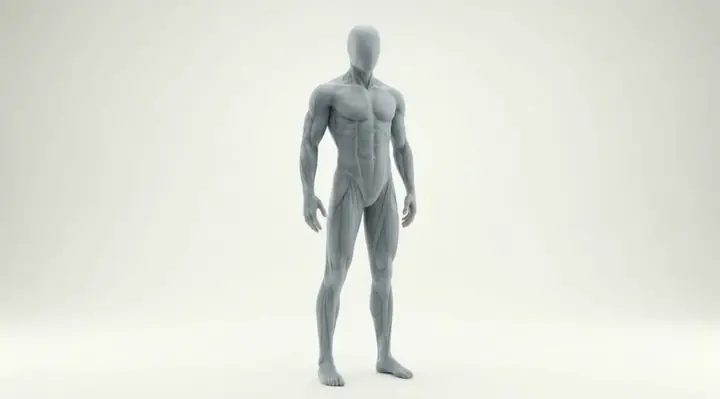
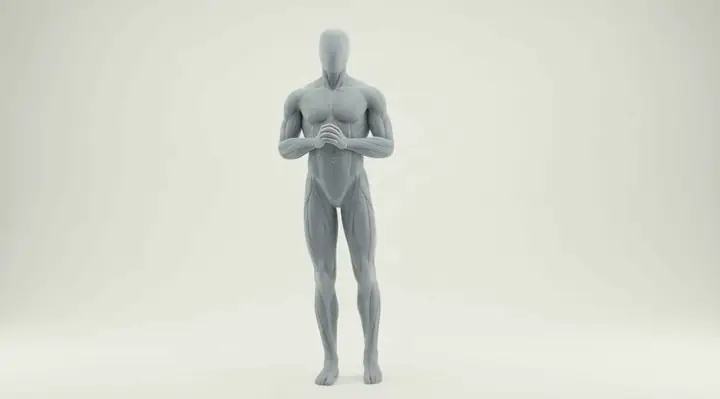
- Stand with the feet wider than hip-width and the toes slightly out.
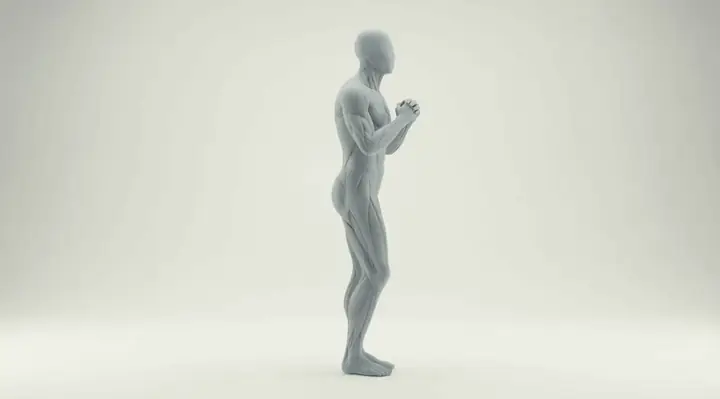
- Place both hands on the hips and stand tall through the trunk.
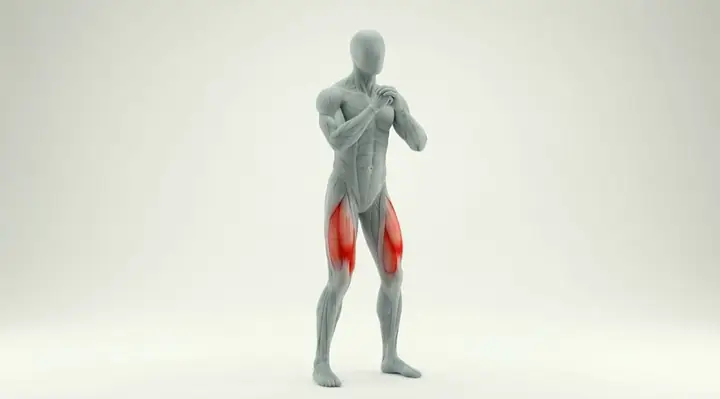
- Push the hips forward, then circle them to the side, back, and other side.
- Keep the feet flat and the knees almost straight.
- Make the circle as large as you can without twisting from the waist.
- Reverse direction after the assigned number of turns.
Key technique cue
The pelvis draws the circle, not the waist; knees nearly straight.
Common mistakes
- ✕ Bending the knees so the circle becomes a squat sway.
- ✕ Twisting the waist and shoulders instead of moving the pelvis.
- ✕ Setting the feet too close together and losing balance.
- ✕ Leading with the chest so the upper body draws the circle.
Benefits
- ✓ Warms the hips through rotation, flexion, and extension in one drill.
- ✓ Needs no equipment and very little space.
- ✓ Gives squat and hinge sessions a standing mobility drill before load.
About the exercise
Standing hip circles move the pelvis in a smooth ring while the feet stay flat. The drill uses a wide stance, hands on the hips, and a circle led by the glutes rather than a waist twist. The hips travel forward, to the side, back, and to the other side. Treat it as a bodyweight warm-up for the hips, not a loaded strength lift. This is the standing pelvis circle, not a quadruped hip CARs drill and not a hula-hoop dance, and it suits lower-body warm-ups, hip-mobility work, and desk-to-session sequences that need a standing drill with no kit.
Updated
Similar exercises
A week of training and meals built for you
Workoutify plans workouts around your days, time and equipment — and a menu for your goal and macros.